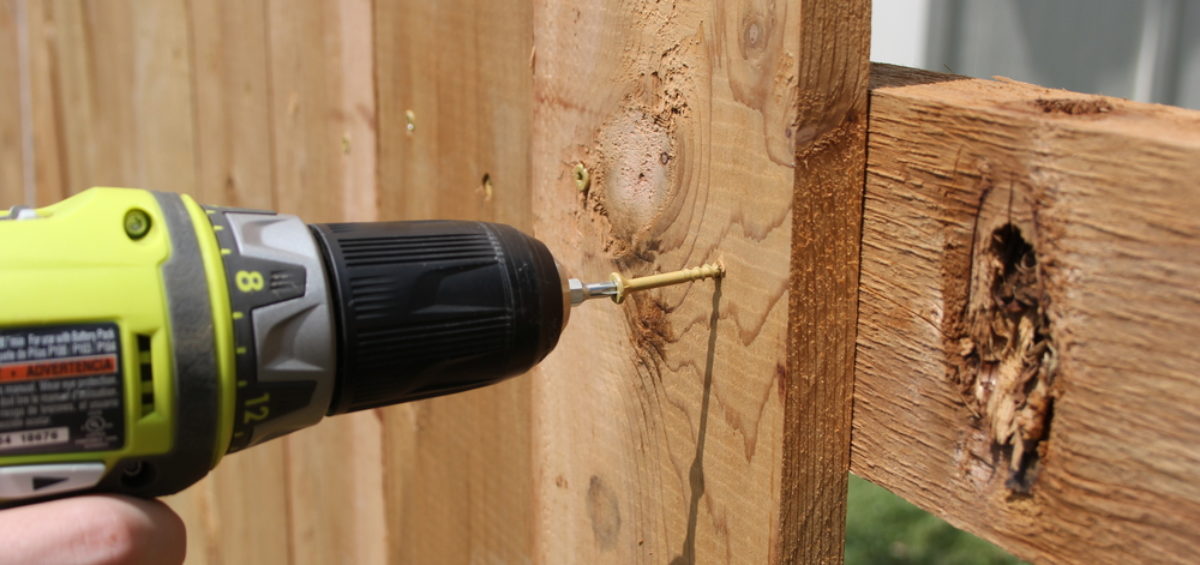
A good fence can make all the difference to a property and the best part is that it’s a simple enough project to do on your own. So if your property has no fence, here is a How To guide to build a fence.
Woodmart is your one-stop-wood-shop when it comes to all things timber, fencing and building supplies in Auckland. We are happy to provide you with not only the tools and materials but also the advice you need to make all of your timber fencing, decking and retaining DIY projects a reality.
What You Should Know Before You Begin
Before you start building a fence, you should know that you have the right to build a fence between properties. You do not need to obtain consent from the council in Auckland unless the fence is above 2.5m, according to the Building Act. If you plan to remove a fence or build a new one between two properties, you should obtain consent from your neighbour. You may also ask them to contribute to the costs.
You will both have to agree on the type of fence, the costs and the construction before the work begins. Once you’ve come to an agreement, you should write it down and both sign it. If you cannot reach an agreement, you must progress the issue under the Fencing Act 1978.
What You’ll Need to Build a Fence
In this step-by-step guide we show you to build a timber fence.
Woodmart your building supplies specialist in quality timber and building supplies in Auckland. Walk with this list into our store to make sure you get all the fencing timber supplies from one place:
- Standard fence posts
- Fence rails
- Fence palings
- Scrap timber
- Timber fence finish
- Galvanised nails
- Bags of concrete
To build a fence, here’s the following tools you’ll need:
- Spirit level
- Hammer
- Circular saw
- String line
- Spade
- Tape measure
- Chisel
Timber fences are not just functional but decorative that can complement the style of your house.
Here’s the step-by-step guide to getting it done:
Step 1 – Find the Corners
Once you’ve chosen a style (trellis or picket, for example), you can stake the corner locations, placing the stakes roughly where you want the fence to go. Then run a string line between the stakes to mark it.
Step 2 – End Posts
Set the end posts first. You’ll want the holes you dig to be about 600mm deep and 300mm squared for fences up to 1.8m high. Stand each post in the hole you’ve dug, and use your spirit level to make sure it’s vertical and square.
Fill the holes with concrete to a bit over the top so that you can then smooth the concrete down and angle it in order to facilitate drainage. Stretch a line between the two end posts on top, and another between them about halfway down.
Step 3 – Intermediate Posts
Set intermediate posts using the same procedure as in Step 2 every 2 to 2.4m along the string line.
Step 4 – Setting the Rails
Set the bottom rail 300mm above the ground. Fix them into position and nail them to the posts with galvanised nails. Make sure each joint is buttered together in the centre of each notch.
Step 5 – Palings
Put up the first paling, starting on one side and use the spirit level to make sure it’s straight. Put each paling up against the next, continuing to use the spirit level to make sure it’s vertical every ten palings before you fix it to the rails.
Step 6 – Trim the Tops
Once you’ve fixed all the palings, trim the tops to make sure they are all the same length.
Step 7 – Timber Finish
If you’re using treated timber, apply a timber finish right away. Step back and admire your new fence.
Check Woodmart’s wide range of fencing timber supplies in Auckland at very competitive prices.
Talk to our team for more tips on building a fence or your next timber DIY project.
Get a free online quote from Woodmart today.


